What is the Bulk Editor?
The Bulk Editor is a tool that we created to help you add schema to multiple pages at once.
Here’s an example. Let’s say you have 200 blog posts that you want to add schema to and you want them all to have the same schema. Doing this one at a time would take you quite a while and it’s also super tedious.
Step 1: Fill out default variables
Hover over the Settings icon (gear) in the sidebar. A submenu should appear. Within that submenu, click Manage Defaults. This will take you to the page where you can fill in values that will rarely change, like your business address. Fill out as much as you can here.
Step 2: Select the pages
Select the blog posts that you want to use the Bulk Editor on, then click Generate Schema on the sidebar.

Step 3: Select a schema template
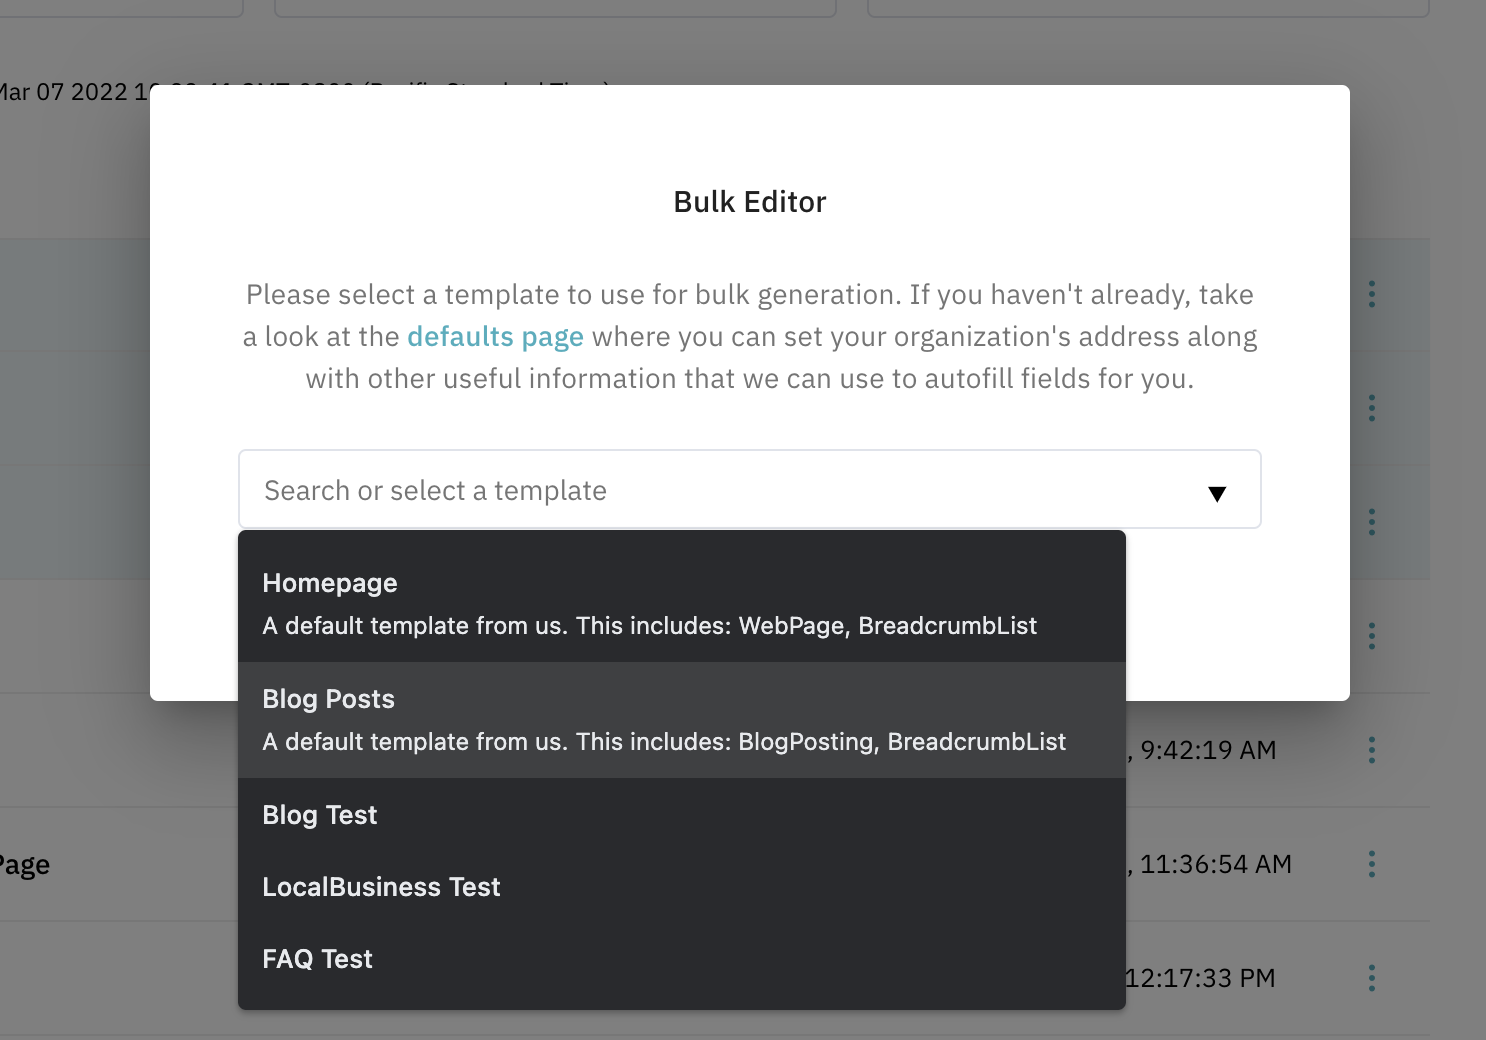
Select a schema template you want to use. We include two of the most popular ones by default. You can always create your own on the Schema Templates page which you can access by clicking the journal / book icon in the sidebar.
Let’s select the default Blog Posts template for this example and click the Generate button.

Step 4: Wait for the process to complete
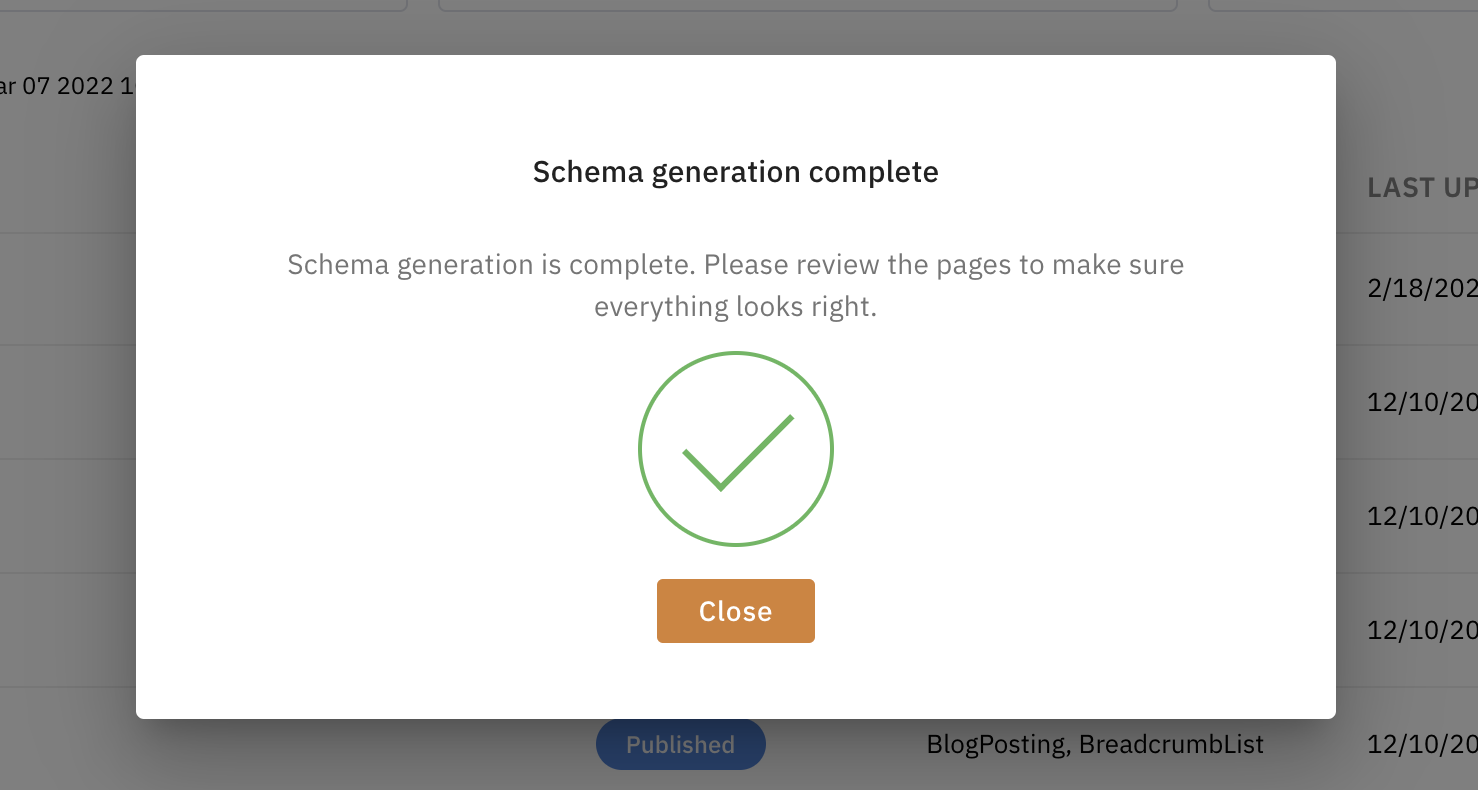
Once complete, you should see this dialog box confirming that schema has been added successfully.

That’s it! Hopefully this guide taught you how to use the Bulk Editor and saves you a lot of time adding schema to a lot of pages. Don’t forget to create some of your own templates by visiting the Schema Templates page!